

Hubspot integration
Last updated March 4, 2025
Overview
Atlas offers seamless integration with HubSpot, allowing you to synchronize customer data between your CRM and support platform.
Setting up HubSpot integration
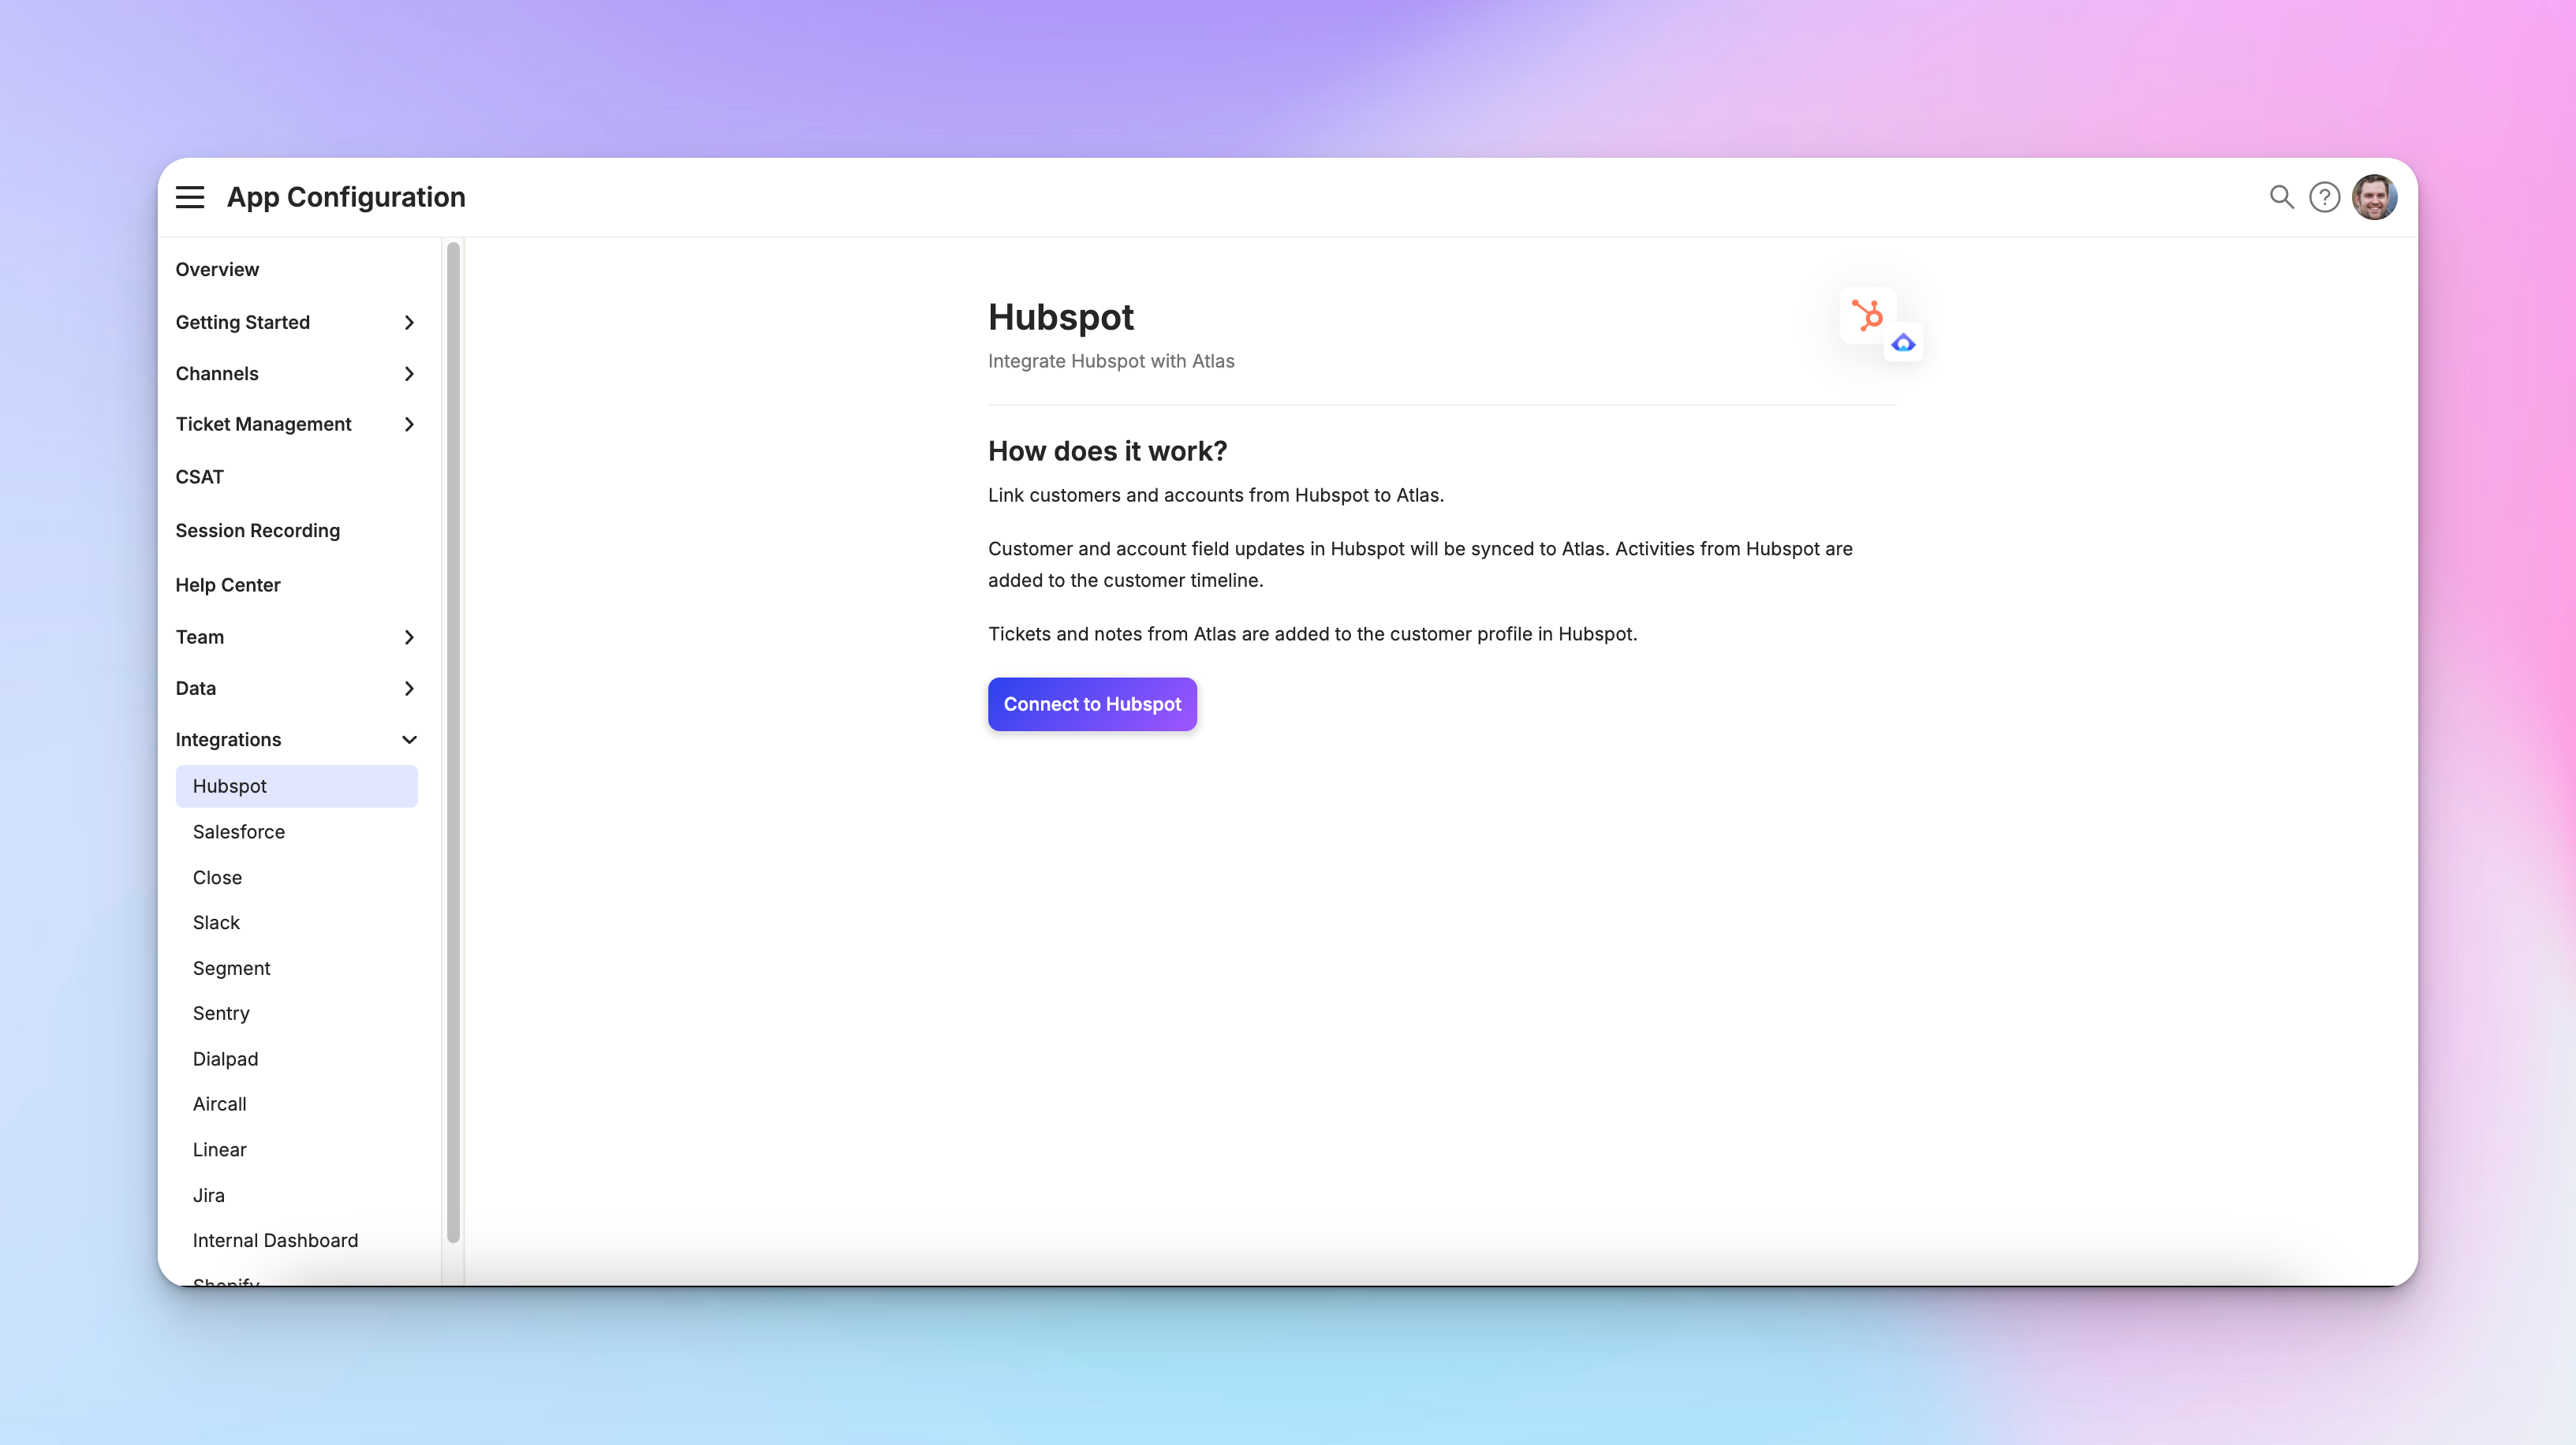
To begin, go to App Configuration > Integrations > Hubspot

Click on "Connect to HubSpot".
If you're already logged into your HubSpot account, the connection process will be smoother. After clicking "Connect", follow the prompts to authorize the integration.
Note: Only one CRM integration can be active at a time, so ensure you want to use HubSpot before proceeding.
Configuring the integration
Once connected, you'll need to configure the integration to ensure proper data mapping between HubSpot and Atlas.
Mapping core fields
Start by mapping core fields such as first name, last name, primary email, primary phone, and ID. This mapping is crucial to prevent duplicate customer records between the two systems.
Custom field mapping
Atlas allows you to map custom fields from HubSpot to custom fields in Atlas. In the left-hand dropdown, you'll see all custom fields from HubSpot. On the right, you'll see custom fields you've created in Atlas for the customer entity. Map these fields according to your business needs.
Account mapping
Similar to customer mapping, you can also map account fields between HubSpot and Atlas.
Activity sync
You can set up activity syncing between HubSpot and Atlas. For example:
- Calls or notes created in HubSpot can be synced as custom events in Atlas.
- Conversations or customer notes created in Atlas can be made visible in HubSpot.
This two-way sync ensures that both your support and sales teams have access to the most up-to-date customer information.