

Customer profile basics
Last updated June 19, 2026
Overview
With customer profiles, know your customers inside and out. Learn how to use the customer profile feature to provide faster, more personalized support.
Accessing customer profiles
You can access customer profiles in two ways:
- Click on any ticket in the inbox
- Navigate to the Customers page and click on a specific customer
Let's explore Alex's profile as an example.
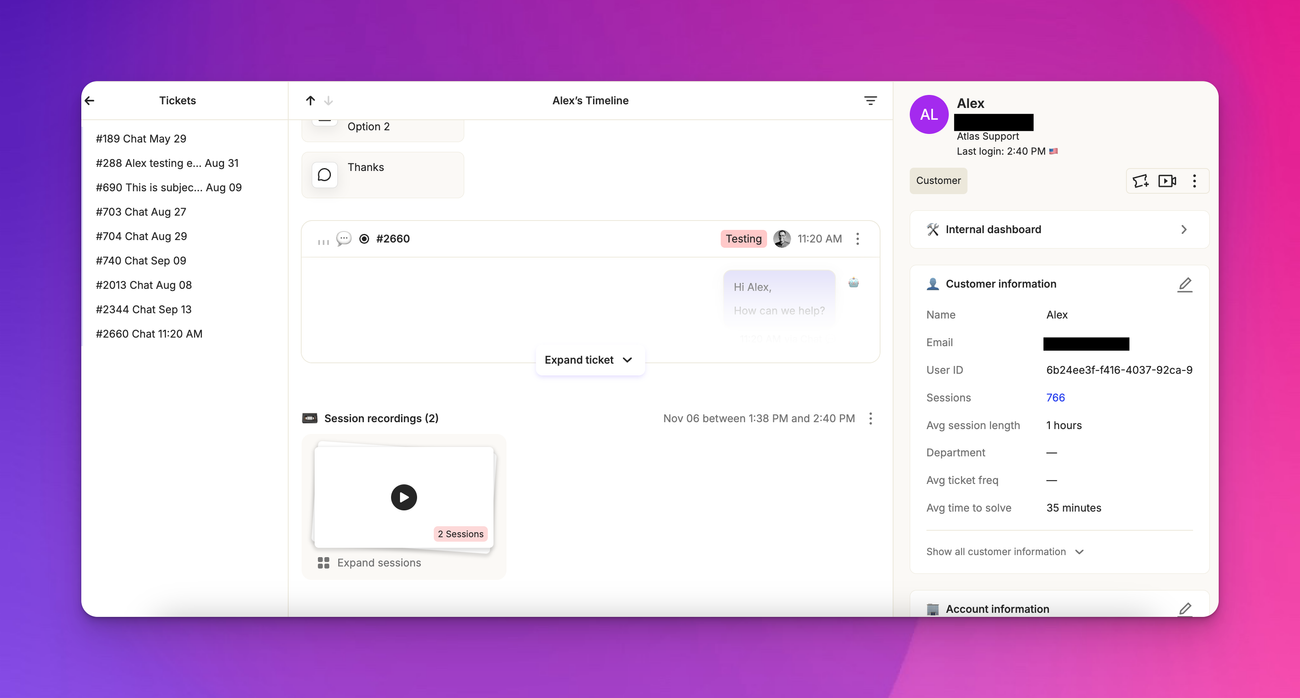
Profile layout
Ticket pane
On the left-hand side, you'll find the ticket pane. This shows all tickets Alex has ever submitted, including the ticket number, date, and subject. Clicking on a ticket will open it, displaying the ticket description row at the top of the screen.

Timeline
The center pane displays the timeline, showing everything Alex has done related to our app or interactions with our support team. This includes:
- Session recordings of the customer using our app
- Tickets
- Events from third-party or internal integrations
Internal integrations include help center actions, while third-party events could be bugs from Sentry or actions in HubSpot, Dialpad, and other integrated tools.
Ticket details
When you open a ticket, you'll see an expanded form of the ticket header with every property of the ticket. Below the properties, you'll find messages from customers (left, white) and agents (right, blue). Internal notes appear in yellow.
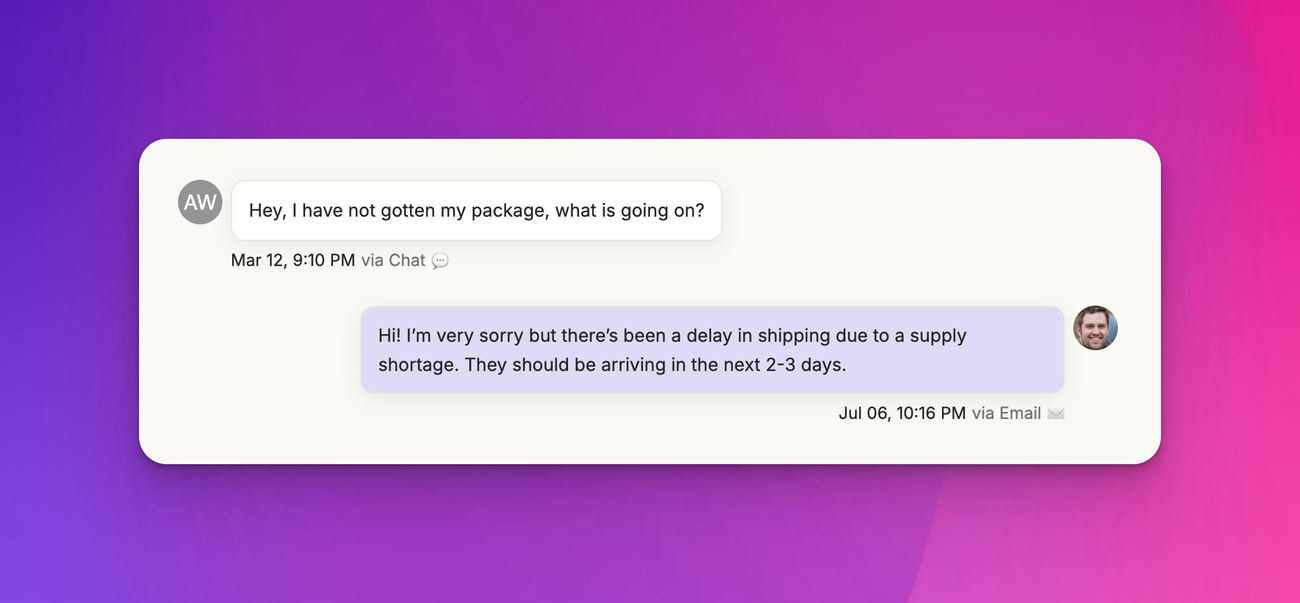
Each message shows the send time and channel. Hovering over the channel reveals message headers. A read receipt to the left of the timestamp indicates the message status (sent, viewed, not viewed, or error).
Ticket activities, such as CSAT survey responses and internal actions like status changes or reassignments, are also visible here.
Info pane
The rightmost pane is the info pane.
It contains the following elements.
Contact card
Shows customer information, contact details, and account name (if associated). Hover over items to copy information to your clipboard.
Have any more questions?
We’d love to help you help better. Contact us/message us