

Inviting teammates
Last updated February 4, 2025
Overview
This guide will walk you through the process of adding team members and explain the different roles available.
How to invite teammates
Inviting teammates to Atlas is a straightforward process.
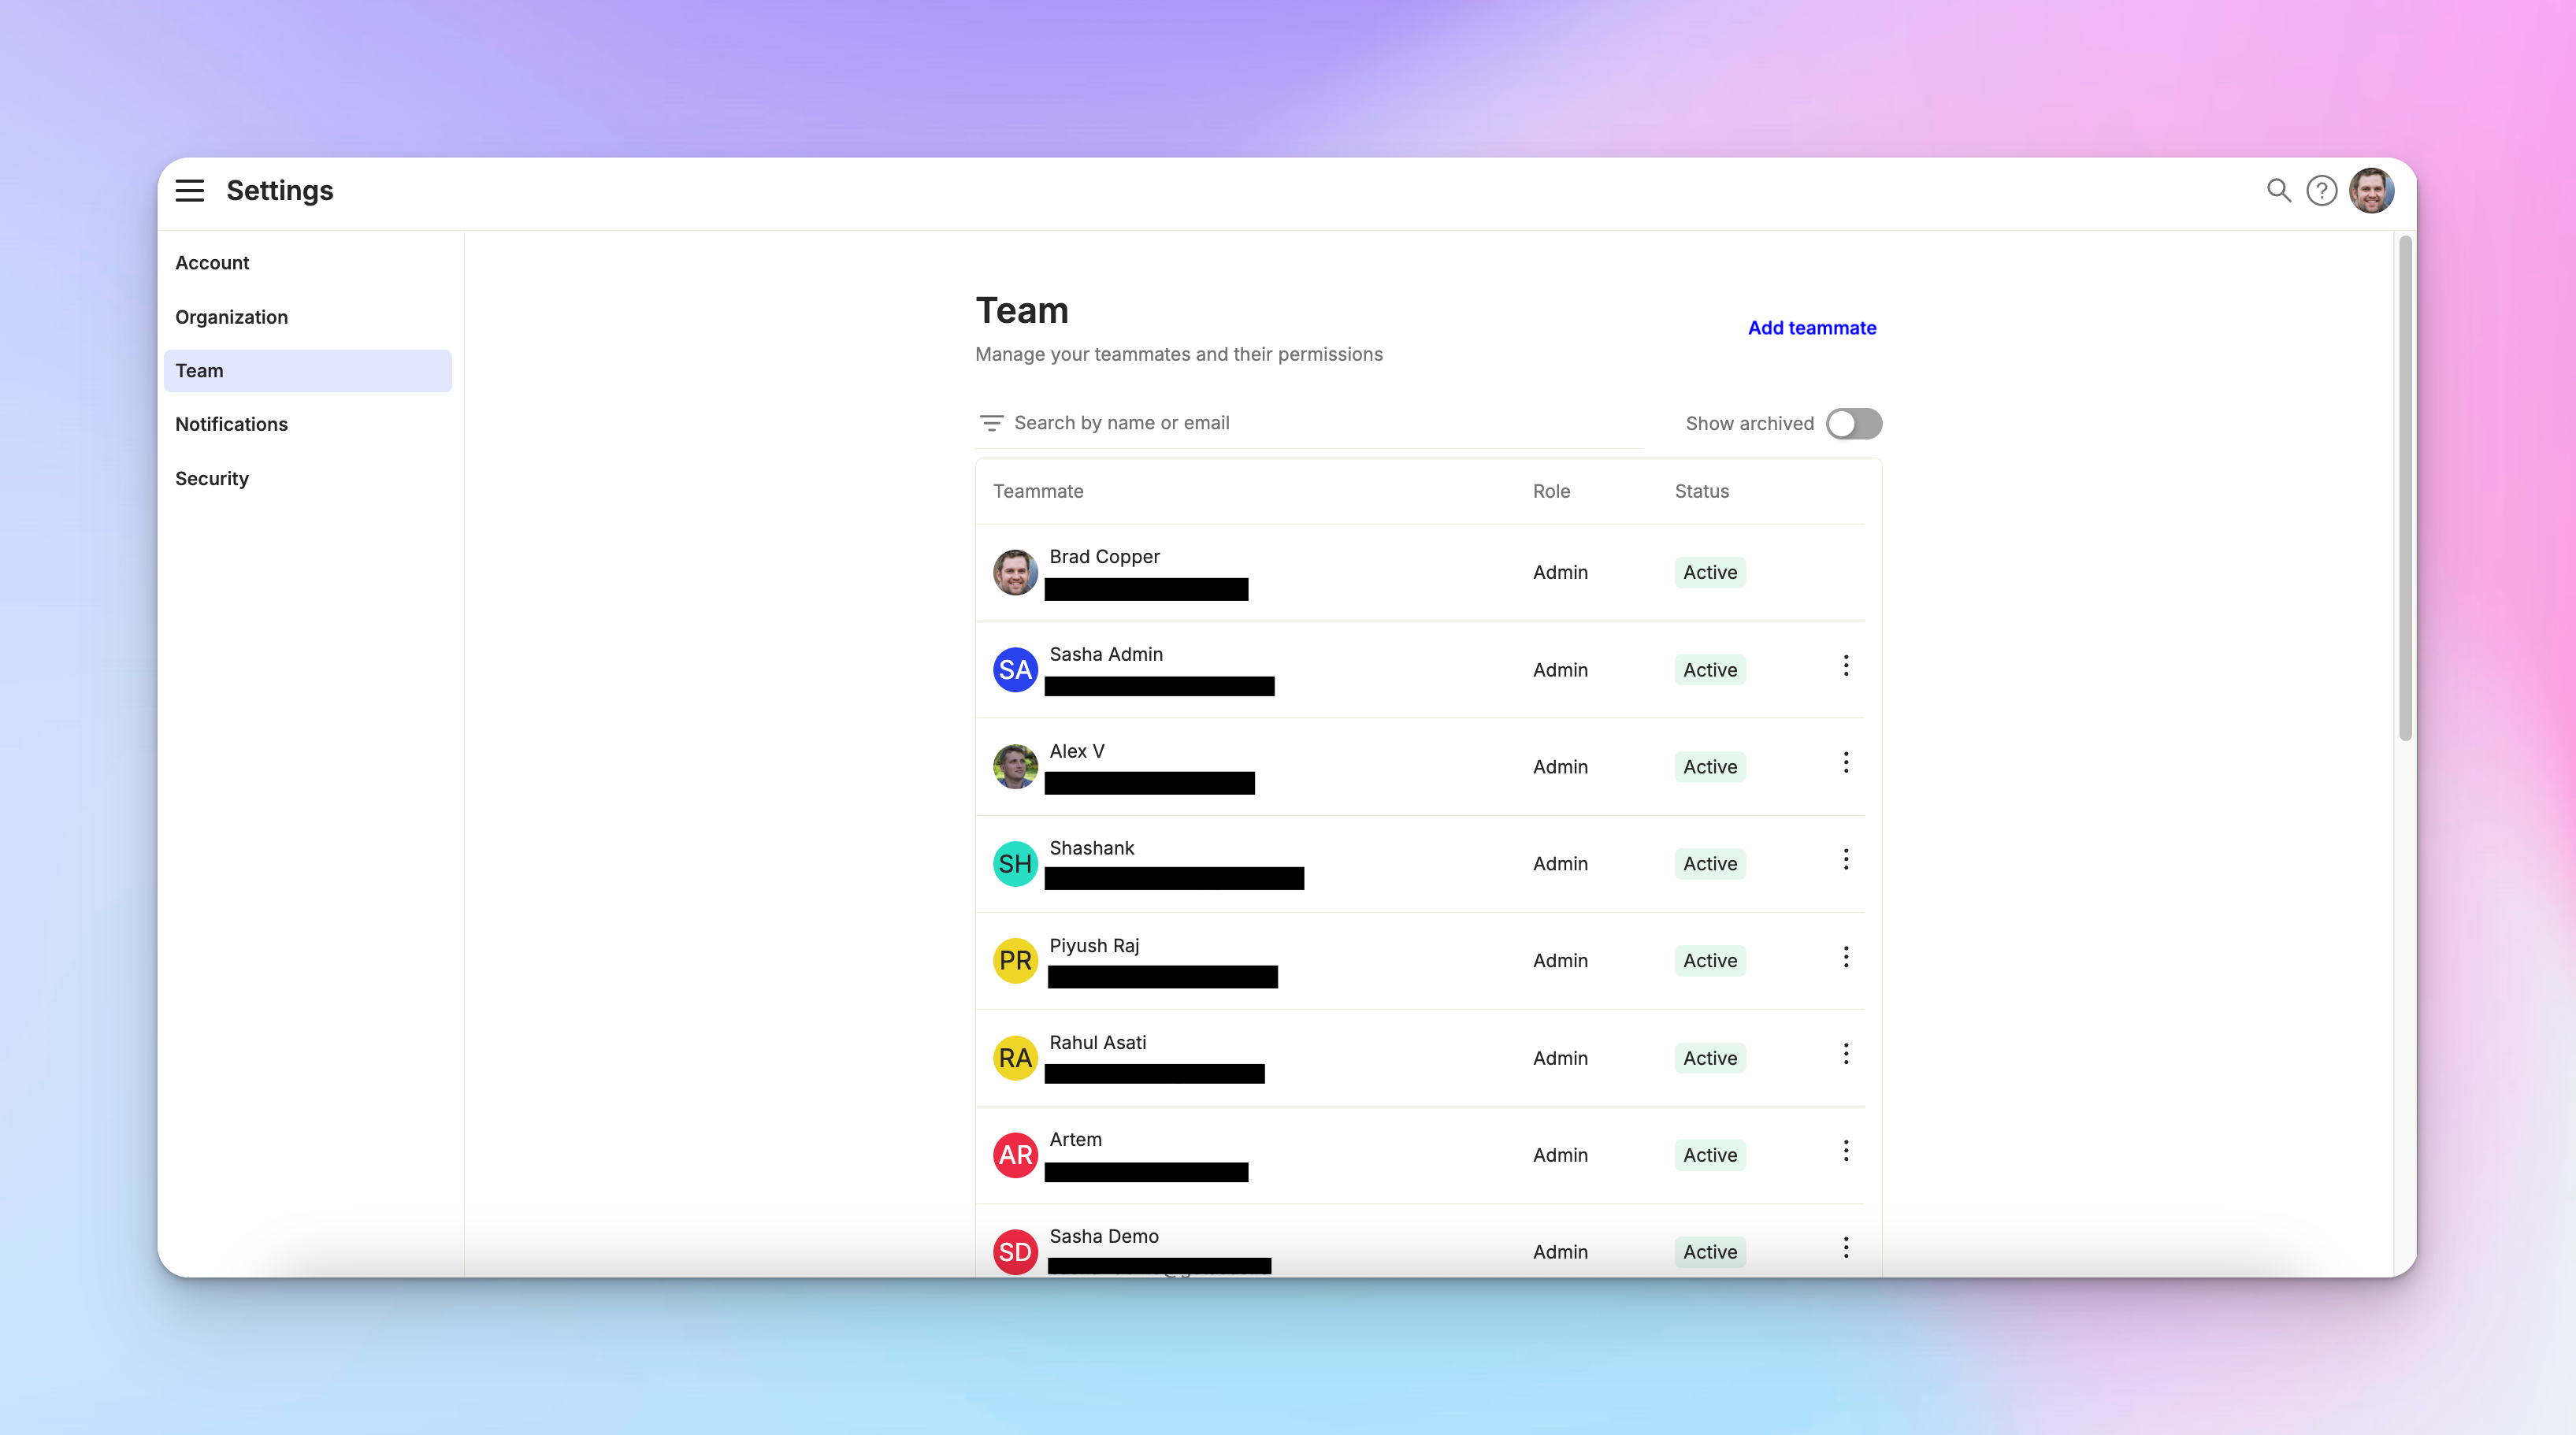
Begin by opening the hamburger menu and click on Settings > Team. You'll find the option to add a teammate. Click on this option to start the invitation process.
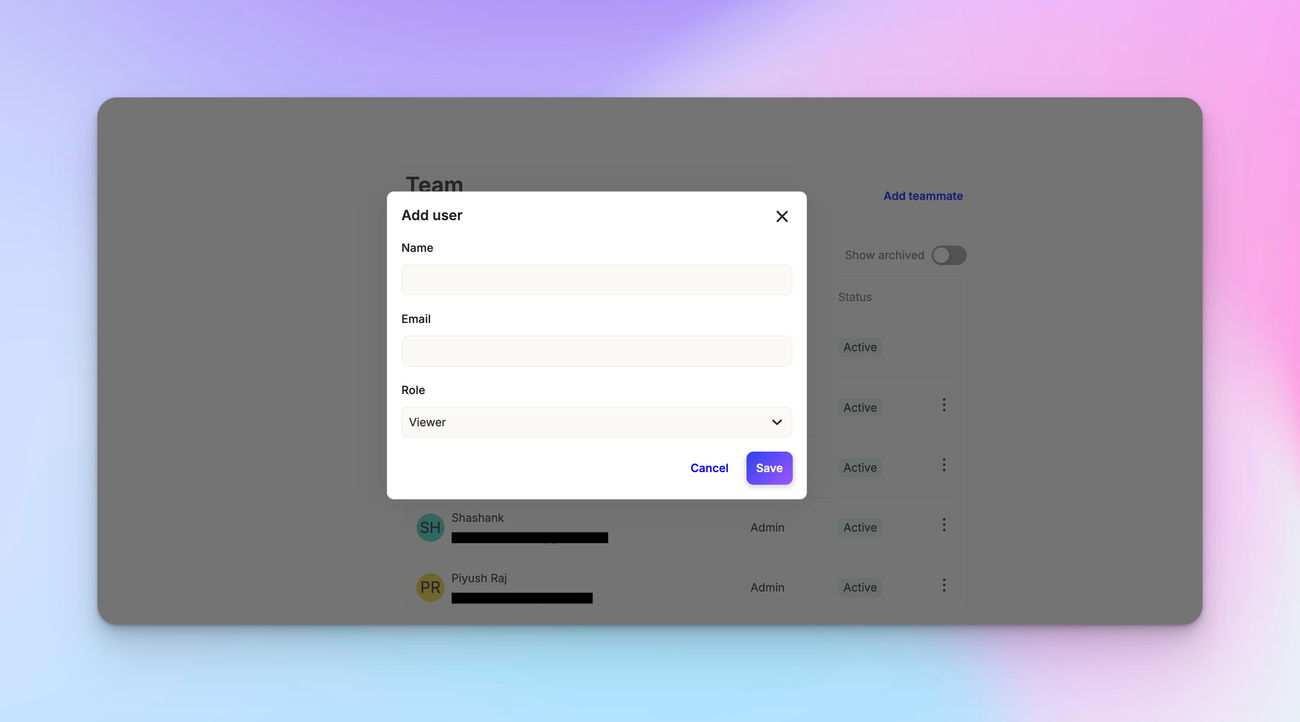
Enter the name and email address of the person you want to invite. Next, select the appropriate role for your new team member. After filling in all the necessary information, simply click "Save" to send out the invitation.
Understanding roles in Atlas
Atlas offers different roles to suit various team needs.
The admin role is designed for those who need full control over Atlas settings and can manage all aspects of the platform. Agents, on the other hand, can communicate with clients and handle support tickets, but have limited access to settings.
For team members who need to access and view data without communicating with clients, the viewer role is ideal. This role is perfect for engineers, product managers, or operations staff who need insight into customer interactions without direct involvement.
It's worth noting that Atlas doesn't charge for viewer seats, making it a cost-effective option for larger teams.
Managing team members
Once you've invited your teammates, Atlas provides several options for managing your team. You can resend invitations if needed, change a team member's role as their responsibilities evolve, or disable a team member's account if they leave the team or take a break.