

Automations
Last updated March 13, 2025
Overview
Automations in Atlas help you perform routine tasks automatically. They're like smart assistants that can handle various actions based on specific conditions. Automations are designed to cover scenarios that don't fit neatly into routing rules.
Key automations
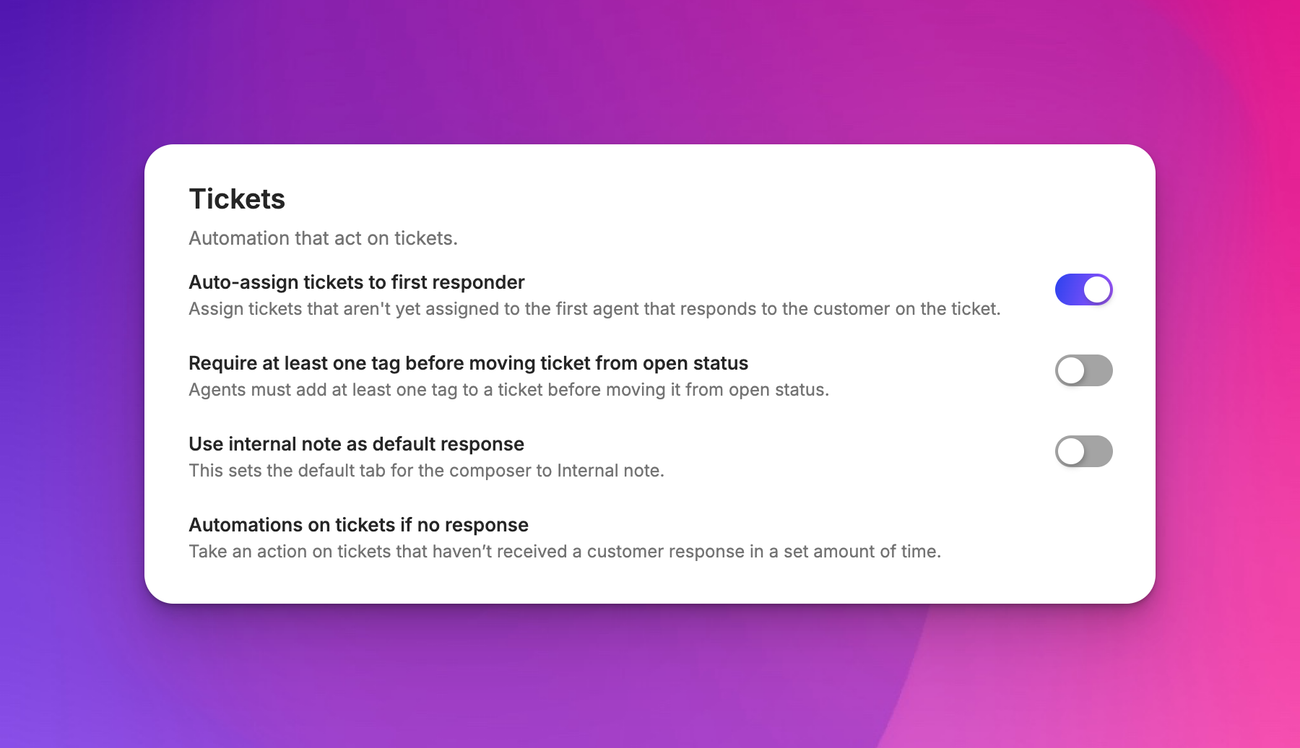
Atlas offers several pre-built automations:
- Assign tickets to first responder
- Require tags before closing
- Use internal notes as default response
- Handle tickets with no response
Assign tickets to first responder
This automation is useful for smaller teams or companies just starting with support. When an agent responds to an unassigned conversation, it automatically assigns the ticket to them.
Require tags before closing
As your organization grows and develops different verticals, you might want to ensure proper categorization. This automation prevents tickets from being closed without assigning a proper tag.
Use internal notes as default response
This automation helps prevent accidental messages to customers. It's particularly useful for organizations with a lot of internal communication between operations and developer teams. All responses are set as internal notes by default, requiring a deliberate action to send an external message.
Handle tickets with no response
This automation manages tickets where the customer hasn't responded after a certain time. You can set actions like sending a follow-up message, changing the ticket status, or assigning a tag. This is useful when you assume the problem might have been resolved but want to confirm.
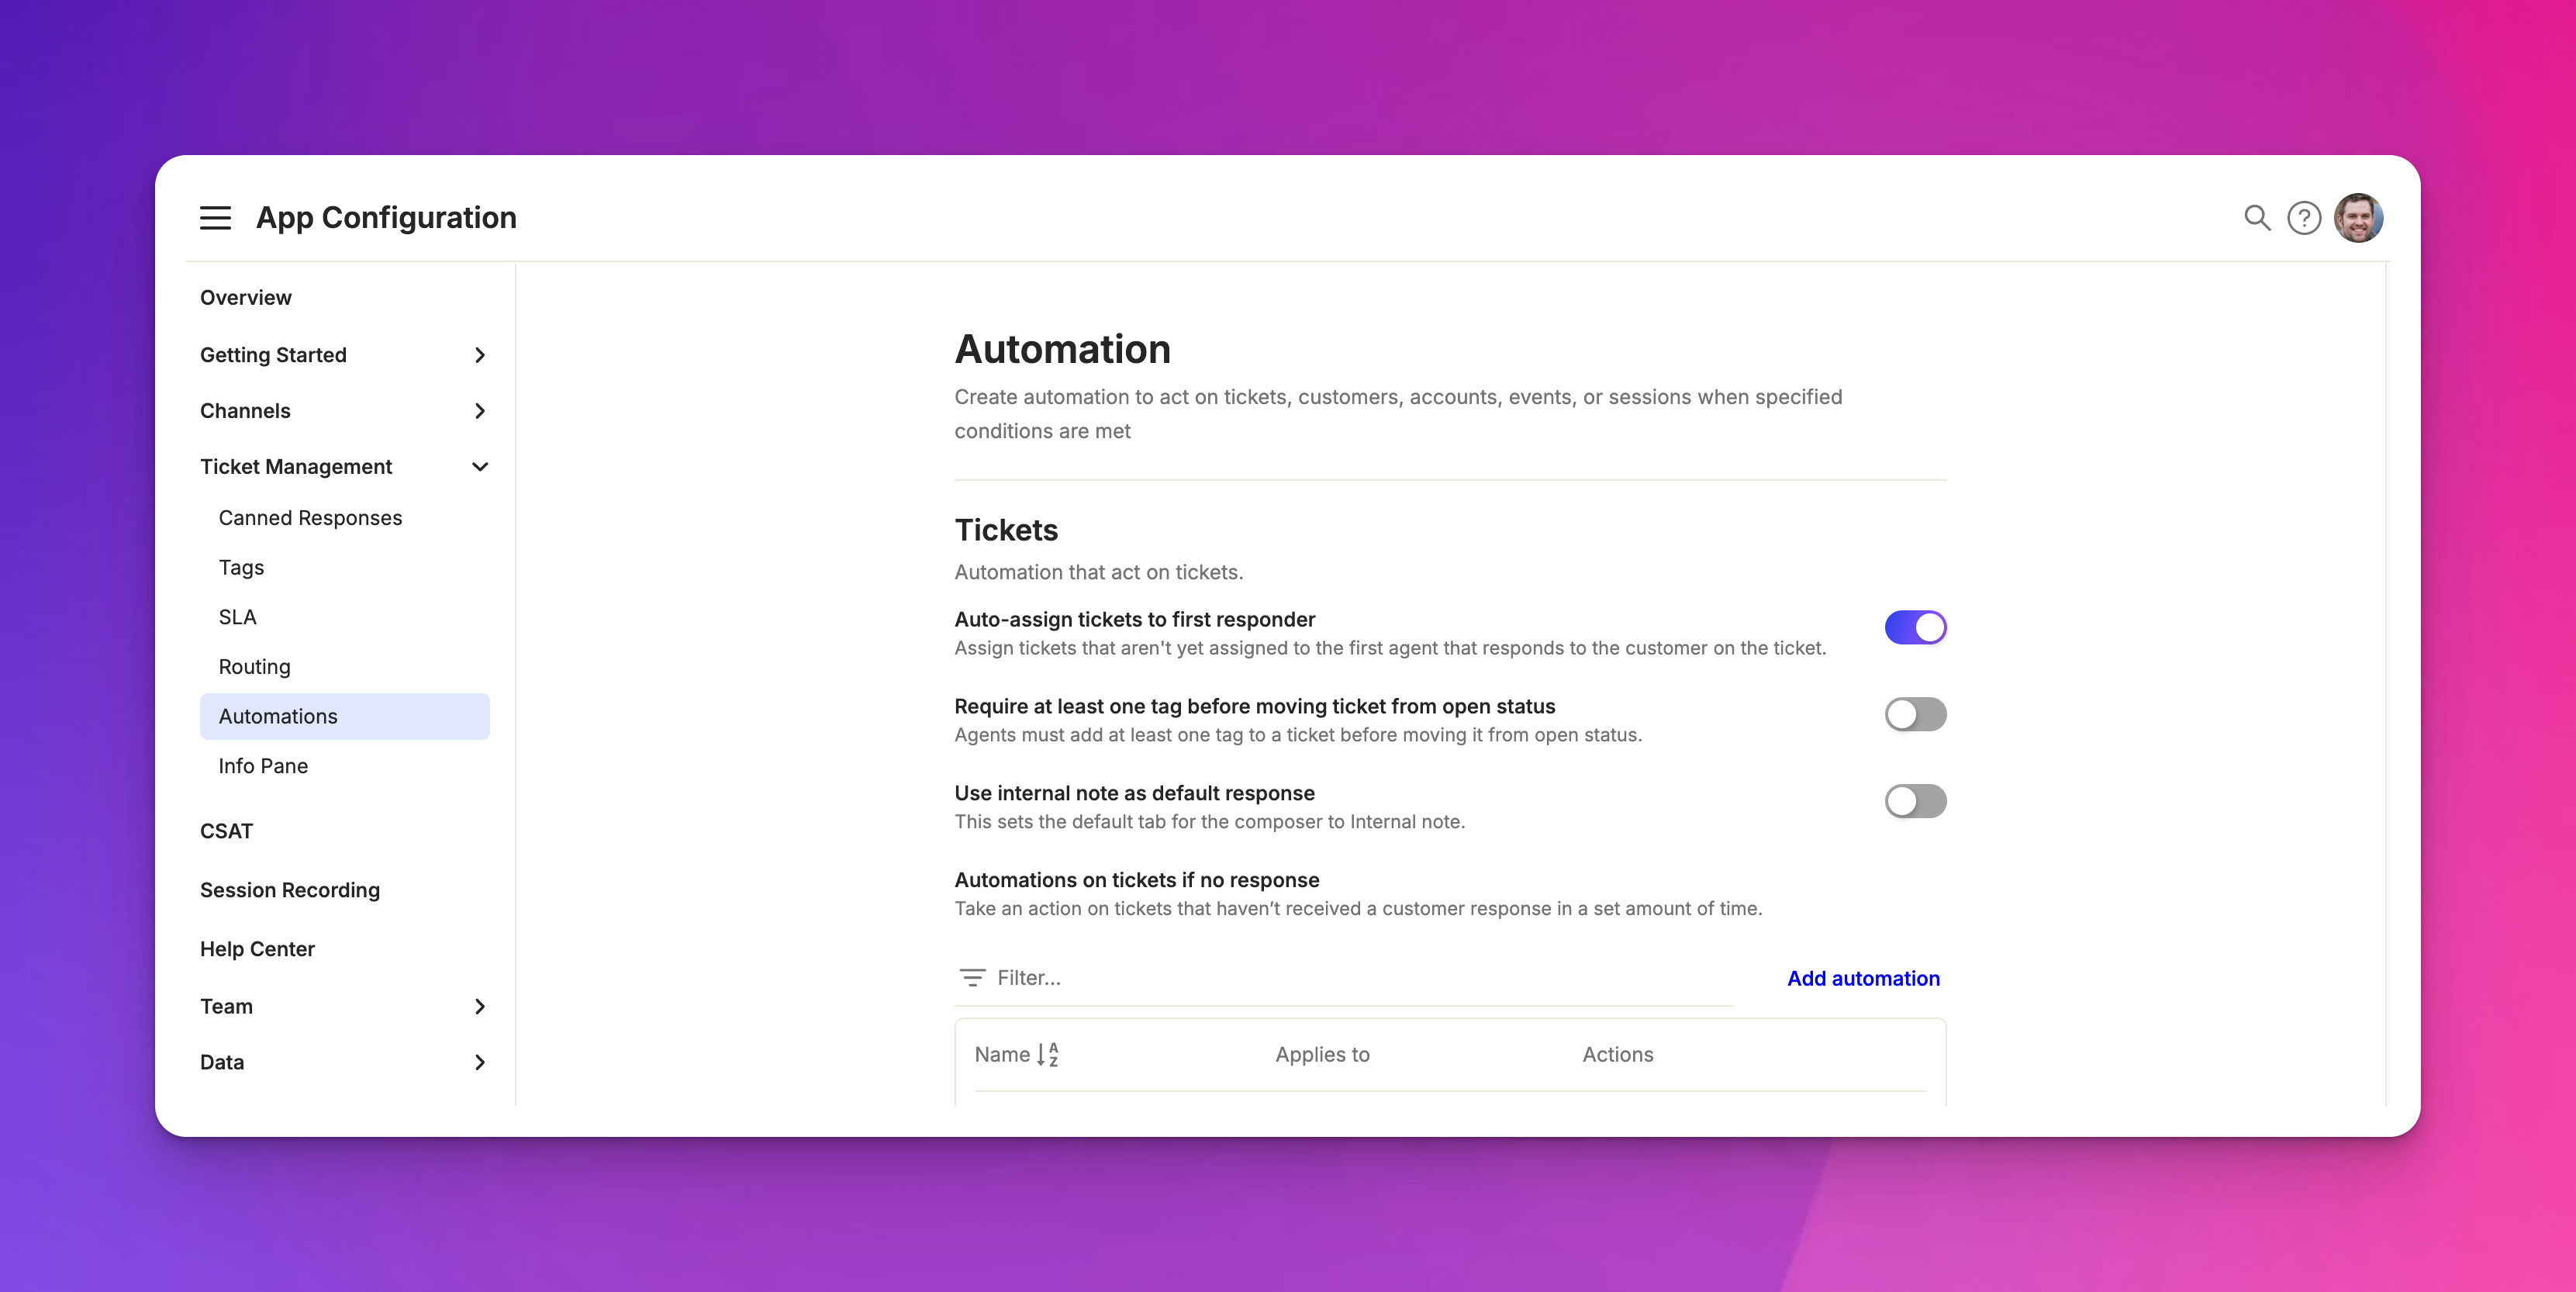
Creating custom automations

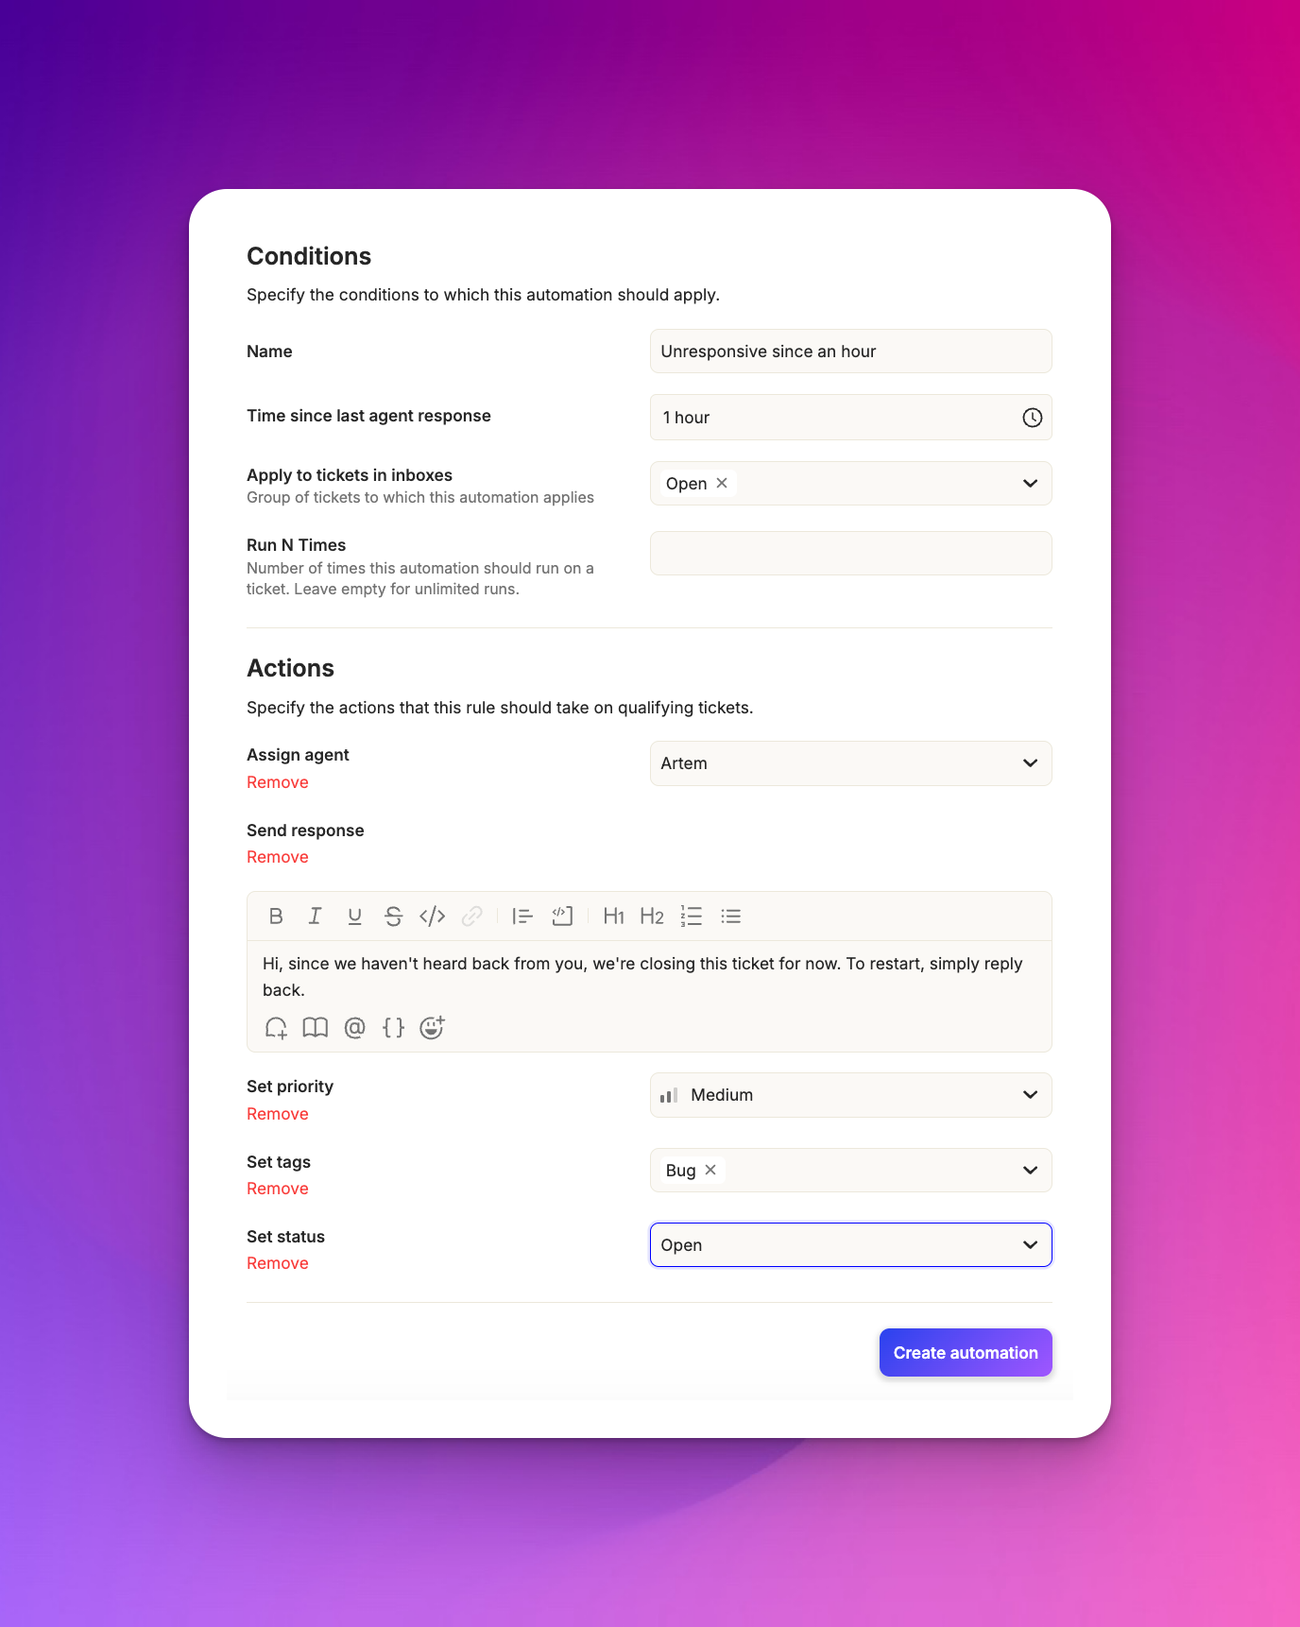
To create a new automation, go to “ App Configuration > Ticket Management > Automations ”. Click "Add Automation” and set your conditions (e.g., ticket status, time since last response). These ticket automations are triggered a specific amount of time after an agent sends a response.
The automation can take any of the following actions: assign an agent to the ticket, send a message to the customer, set the ticket priority, add tags to the ticket, and set the status of the ticket. Finally, set how many times the automation should run.
Using inboxes in automations
You can choose which inboxes your automation should apply to. Here's how:
- In the automation setup, look for the "Inboxes" condition
- Select one or more inboxes where the automation should run
- You can choose default inboxes like Open, Pending, or Snoozed
- If you've created custom inboxes, they'll appear in this list too
For example, you might create an automation that runs on the "Open" and "Pending" inboxes, but not on "Snoozed" tickets.
Actions based on inboxes
Once you've selected the inboxes, you can define actions for the automation. These might include:
- Assigning an agent
- Sending a follow-up message
- Changing the ticket status
Example
For tickets in the 'Pending' inbox that haven't had a customer response in 48 hours, you could set up a follow-up message automation that says, 'Hey, we haven't heard back from you. Do you still need assistance?'
Limiting automation runs
The "Run n times" option lets you control how often an automation applies to a ticket. This prevents repetitive actions, like sending the same follow-up message multiple times to a customer who hasn't responded.
Frequently asked questions
1.Can I edit pre-built automations?
Yes, you can modify the pre-built automations to suit your needs.
2.Do automations run instantly?
Automations typically run at set intervals, not immediately after a condition is met.
3.Can I use tags in automations?
Yes, you can set conditions based on tags or use actions to add or remove tags.
4.What's the difference between routing and automations?
Routing focuses on initial ticket assignment, while automations can handle a wider range of actions throughout a ticket's lifecycle. In the future, automations may become a superset of routing capabilities.