

Creating tickets
Last updated March 8, 2025
Overview
Tickets are how you keep track of customer issues in Atlas. This guide shows you how to make them, what to put in them, and some handy tricks to use along the way.
Methods to create a ticket
From the inbox or customer menu
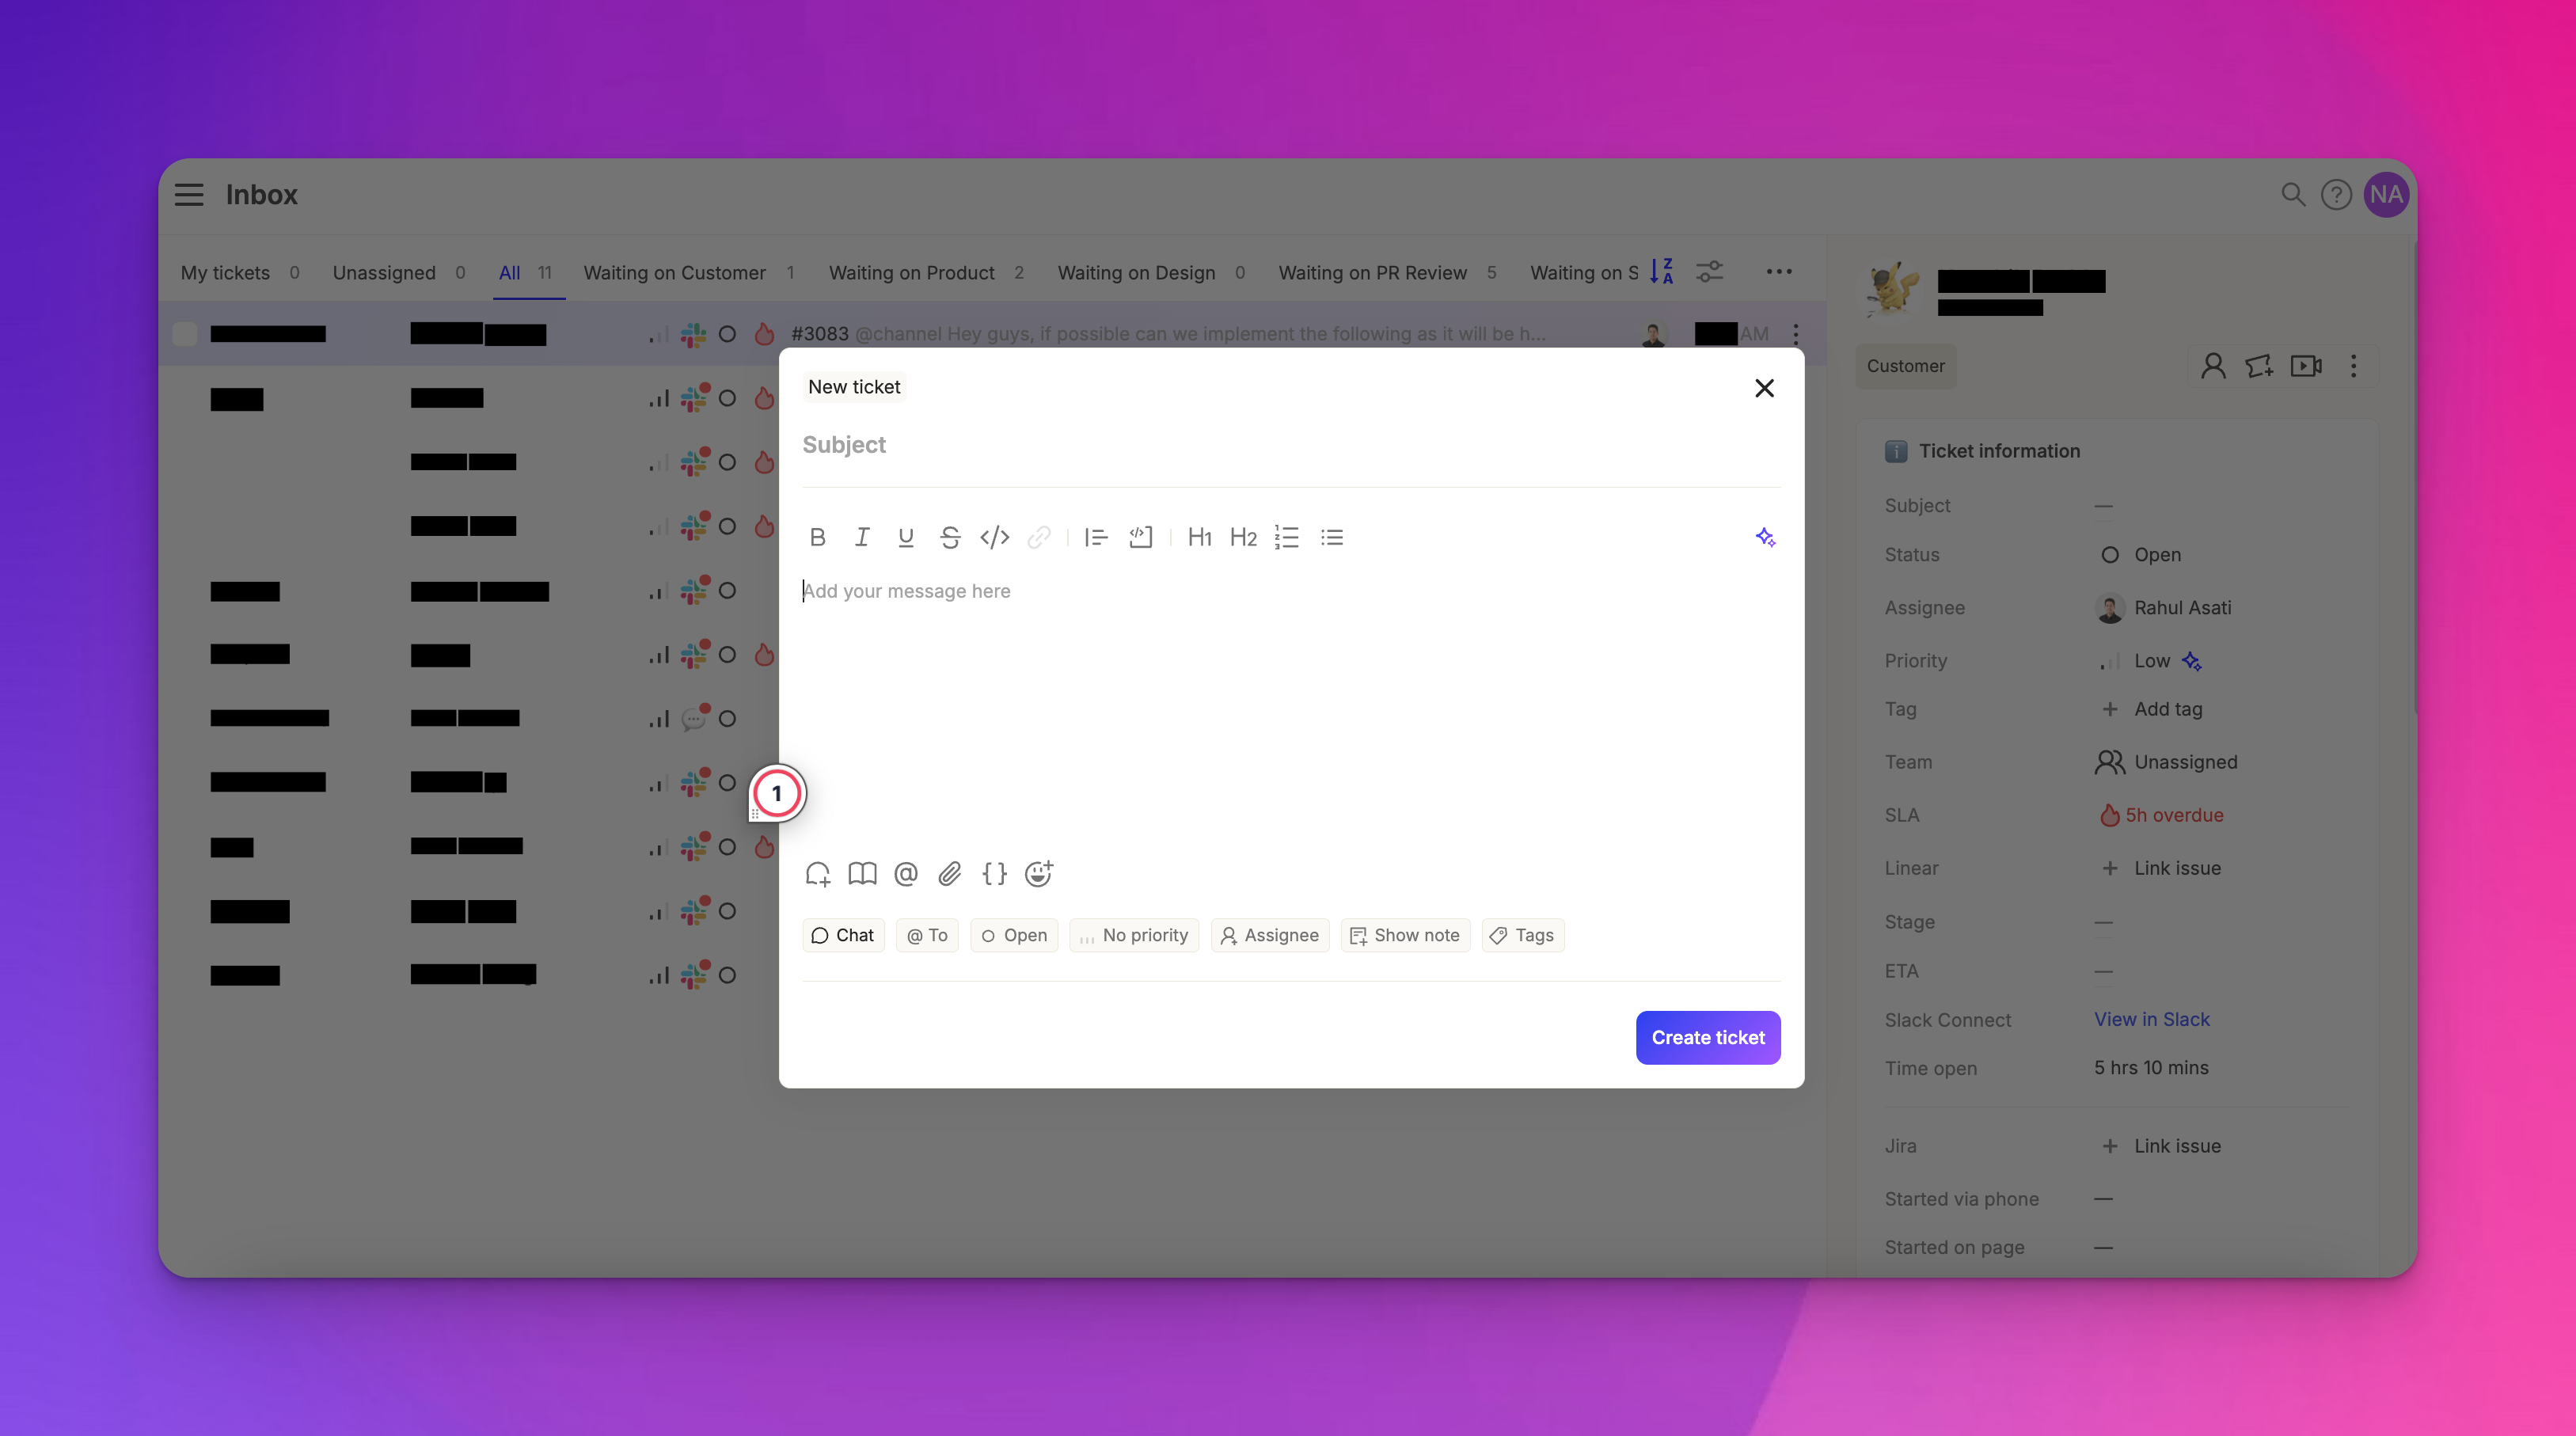
Click the "Compose" button at the bottom of the inbox view. This action will open the new ticket menu.
From the customer timeline
Click the "Create ticket" button in the customer's profile card. This method pre-selects the customer and the most recent communication channel used.
Anatomy of a ticket

Required fields
Channel selection
Choose the communication channel you'll use to interact with the customer.
Customer selection
Select the customer for whom you're creating the ticket in the "To" field.
Message
Compose the initial message or query for the ticket.
Optional fields
Status
Set the initial status of the ticket, typically "Open".
Priority
Assign a priority level to the ticket.
Assignee
Select a team member to handle the ticket.
Internal note
Instead of sending a message to the customer, you can start with an internal note by clicking "Show note" and filling in the field.
Tags
Add relevant tags to categorize the ticket.
Additional features
Subject line
Add a subject to summarize the ticket's purpose.
Composer options
Use various formatting options in the composer to structure your message effectively.
Composer helpers
Access additional tools to enhance your response:
- Canned responses
- Help center articles
- Mentions
- Attachments
- Variables
- Emojis
Channel-specific warnings
Depending on the selected communication channel, you may see warnings or additional information specific to that channel. These can help ensure your message is appropriate and deliverable through the chosen medium.